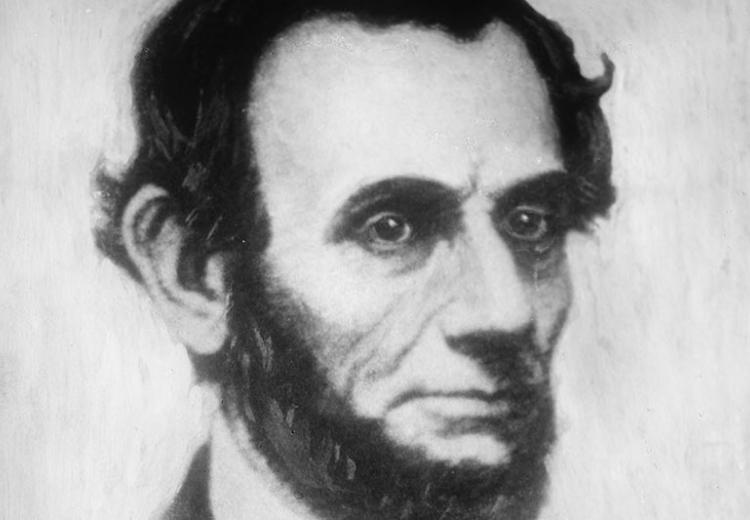
Picturing Lincoln

Abraham Lincoln photographed by Gertrude Käsebier.
Picturing Lincoln
Activity 1 | Activity 2 | Activity 3
Activity 1. Look and Think
Study Gardner's Abraham Lincoln, February 5, 1865, and fill out The National Archives Photo Analysis Worksheet. Use the worksheet questions and the students' answers as a framework for a class discussion about the art. Encourage them to notice details that will help them understand Lincoln.
Step 1. Observation
People—Lincoln is the only person in this photograph. Note details about his body in the first column and clothing details in the objects column. Here are some examples:
Body features:
- mussed hair;
- high, receding hairline;
- sideburns;
- and so on . . .
Clothing:
- Dark suit with wide notched lapels, button, and button holes (slightly rumpled);
- buttoned vest with lapels;
- loosely knotted bowtie . . . and so on . . .
Activities:
Lincoln sits in a chair with his left arm resting on a table. He is still except for his fingers that hold a pencil and his glasses.
Step 2. Questions
1. What questions does this photograph raise in your mind? Students might wonder:
- Why did Lincoln look so tired?
- Was this the last photograph taken of Lincoln? No, the last photographs of Lincoln were those taken by Henry F. Warren on March 6, 1865.
- Why is Lincoln dressed like this?
- Why is he holding a pencil and glasses?
- What was he smiling at?
- What did Lincoln write with the pencil?
- How did Lincoln look when he was younger?
- Why are there dark spots on this photograph?
- Why did Lincoln have to sit still so long for this photograph?
- Who took this photograph?
- What did type of camera was used to make this photograph?
Activity 2. Read Lincoln Biography
Download and copy biography and Guided Reading Questions. Read for understanding, stopping to answer the included questions. Think about how Lincoln's life experiences influenced him as a President.
- How might these experiences have effected what Alexander Gardner's lens captured?
Activity 3. Write "I Am" Poem
Download and print the "I Am" Poem template. After reading the biography, you should complete the poem as if you were Lincoln. Think of unique words for your poem. Use a thesaurus or vocabulary words from English or another subject area to enhance the poem.
Making a Lincoln Portrait
After reading about Lincoln and writing your "I Am" poem, create your own multimedia portrait of Lincoln. You can use the PDF Making Portrait Directions.
Use any size paper that they would like for their portrait. Consider using three different media to create your portrait (for example, photographs, newspaper, string, wrapping paper, construction paper, cardboard, paint, pastels, colored pencils, markers, crayons, computer digitization, fabric, wallpaper, etc.).
After completing ther portrait, write a few sentences explaining why you depicted Lincoln this way on the back of the portrait (or type your explanation and attach it to the portrait). A good guide for evaluating your project is Making a Portrait Evaluation rubric.
More Possible Activities
- Research and write the answer to one or two of the questions from the photograph analysis sheet in Activity 1.
- You could compare photographs of Lincoln to photographs of 21st century presidents and politicians. Analyze the backgrounds, clothing, objects, and activities in these photos to determine the message that they are trying to convey. For example, note how often politicians hold press conferences in front of flags, government buildings, and presidential seals.
- Learn to understand the difference between today's photography process and that of the 19th century. Photograph fellow students in Lincoln’s pose and then try sitting in that pose for three minutes. To understand why Gardner took only five photographs in this hour session, read Wet Plate Photography.
- Compare Alexander Gardner's 1863 portrait photographs of Abraham Lincoln to those he took on February 5, 1865. Notice how much thinner Lincoln looks. See Library of Congress
